|
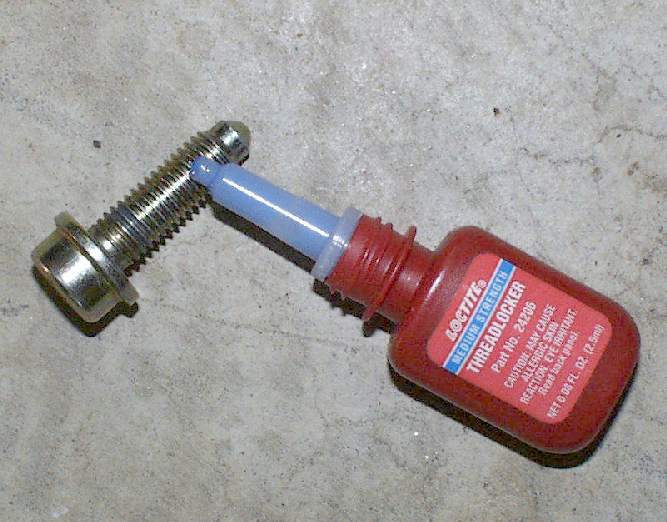
Important! If the bolt in the middle were to come loose and fall out, the engine might have enough freedom of motion to potentially damage the bonnet/hood. Therefore, apply a few drops of Loctite to the threads of this bolt before installing it.
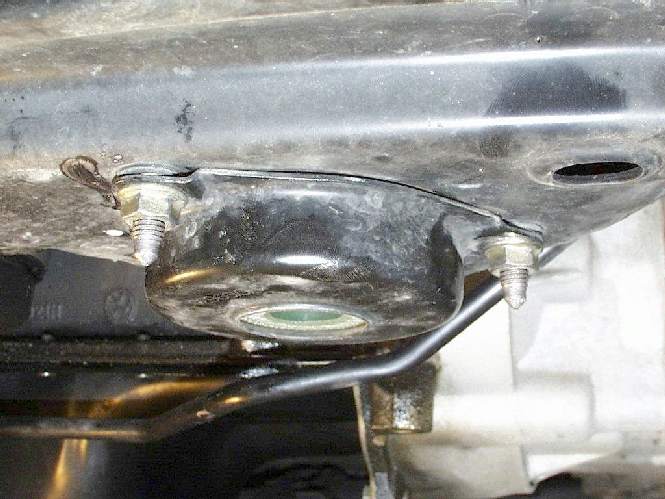
Now install one of the blue polyurethane "pucks" and the aluminum washer using the center bolt like this:
Next, install the second poly
"puck" and the cover using the three nuts.
When you're done, it will look
pretty much like it did before you started. Note: Theoretical tightening torque for the center bolt is 40 ft-lb (55 Nm) and for the nuts it is 25 ft-lb (35 Nm). However, I don't know anyone who has ever actually used a torque-wrench on these fasteners..:-)
|